To help you achieve a flawless glow with no tell-tale signs, it’s essential that you learn how to fake tan feet like a pro! With a little bit of know-how and the right products, getting beautifully tanned feet is easy.
How to fake tan feet
Having patchy, tanned feet can be a major give away that your golden glow isn’t as natural as it looks. Knowing how to fake tan feet properly is a great way to make sure that your tan looks as though you’ve just got back from 2 weeks in the sun. With our simple 4 step guide to fake tanning feet, you can forget any patchy tan concerns and enjoy a beautifully even, sunkissed glow.

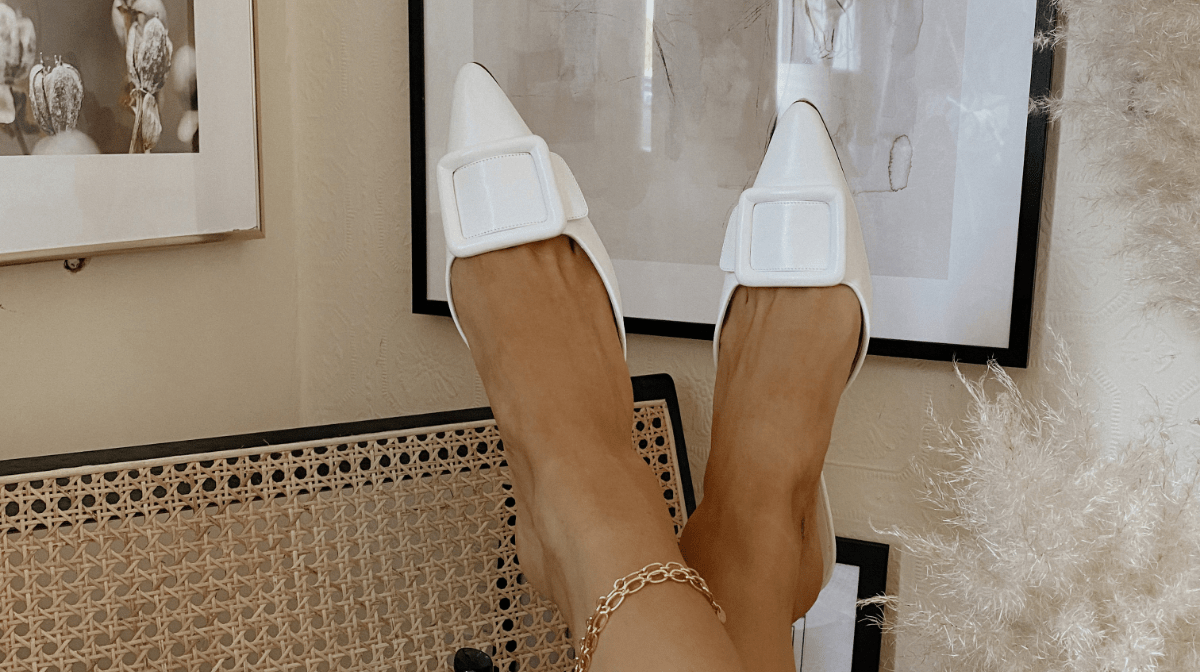
@blossomingbirds via @sttropeztan on Instagram
Step 1: Exfoliate
If you don’t know already, exfoliating and fake tanning go hand in hand. You can’t have one without the other, so whether you’re going for a spray tan or fake tanning at home, make sure to scrub so that you remove any dead skin cells. It’s important to know how to remove fake tan from feet before adding a new layer of self tanner, as you’ll need a fresh base to work with to achieve that perfect, streak-free tan.
How to remove fake tan from feet
If you don’t know already, exfoliating and fake tanning go hand in hand. You can’t have one without the other, so whether you’re going for a spray tan or fake tanning at home, make sure to scrub so that you remove any dead skin cells. You’ll need a fresh base to work with to achieve that perfect, streak-free tan.
If you need to remove a full layer of tan or don’t fancy scrubbing, use our Tan Remover Mousse and Tan Remover Mitt. Together, they will leave your skin feeling super smooth, creating a blank canvas for your freshly tanned feet.
,
Step 2: Moisturise before tanning feet
Moisturise your feet, particularly your ankles (and any other dry areas you may have). This is to ensure that tan doesn’t cling to dry areas or go darker than the rest of your body – the first tell-tale sign of fake tanned feet! Moisturiser acts as a barrier to tan, so just a light layer will ensure it goes on evenly and not too dark.
We’d recommend using an oil-free moisturiser if possible. Oil-based lotions tend to breakdown tan quicker, and you’ll want your tan to last as long as possible!
,
Step 3: Apply!
When it comes to fake tanning feet, less is more. Once you’ve finished applying fake tan to the rest of your body, use the left over product on your mitt to tan your feet – we promise, it’s enough. Glide the tanning mitt over your feet, making sure you lightly sweep over your toes, the sides of your feet and the backs of your ankles.
,
If you want more control, we recommend using a makeup brush. Rub it along your mitt to gather up some of the excess fake tan, and then apply to your foot in sweeping motions, blending into the creases and toes to leave you with seamlessly tanned feet.
Step 4: Finishing touches
Don’t forget to give your feet a little clean afterwards. Wipe your toenails and the soles of your feet (just in case). You don’t want to leave any tell-tale signs that your tan isn’t real!
If you make a mistake and need to know how to remove fake tan from feet – don’t worry. You can correct any fake tanning mistakes with our Tan Remover. Simply massage the mousse into the area and leave for 5 minutes before rinsing off.
Et voila – you’ve just learnt how to fake tan feet! By following these simple steps, you’ll be flaunting beautifully tanned feet and even, all-over glow in no time.

How To Fake Tan Your Hands
We show you how to fake tan your hands with this simple step-by-step…

Ashley Graham’s Top Tanning Tips
Ashley Graham shares her best tips and tricks for a flawless tan.


