Tanning expert, Jayne Cooper shares her top tips on how to get a tan at home using St.Tropez’s iconic products.
How to get a tan at home
1. Create a clean canvas
From any of the photoshoots, Fashion Weeks or celebrity tans I’ve done, I can promise you that perfecting a tan at home is easy, so long as you follow the golden rule; make sure your skin is in the best possible condition before tanning. Don’t worry, no salon required!
I recommend you exfoliate 24 hours before tanning to ensure you have a good, even base. Use our Tan Remover Mousse if you need to get rid of any traces of old tan. This also helps to prime the skin for a longer-lasting tan. Sometimes I find I need to use the Tan Remover Mitt on stubborn areas like my knees and elbows where the tan can sometimes cling.
Make sure you carry out any hair removal 24 hours before too, so that your pores are closed and sensitivity is reduced.
,
2. Pick the right tan for you
If you’re new to tanning, choose a tan with a guide colour like Self Tan Classic or the Express range, so you can be confident that you won’t have a patchy tan. If you’re nervous about going too dark, try the Gradual Tan Lotion, which can be applied like moisturiser.
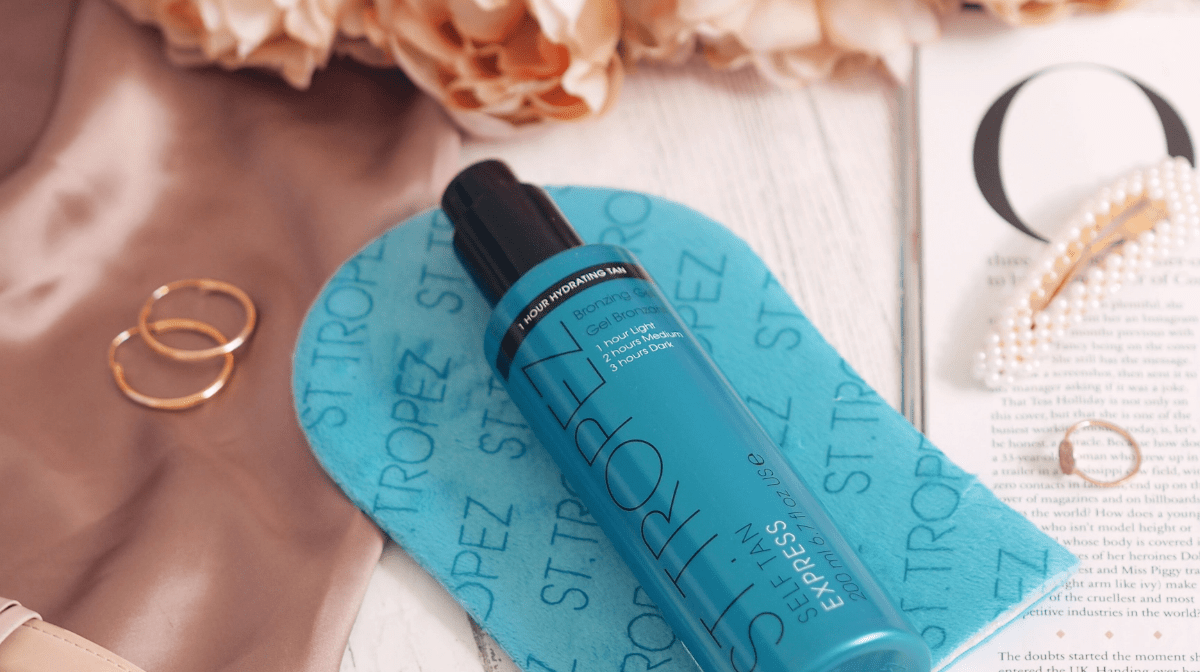
Short on time? Try our Self Tan Express range – you just rinse off after 1 hour for a light glow, 2 hours for a medium tan or 3 hours for that ‘I’ve been on a 2 week holiday’ look – my favourite! Are you a regular tanner? Try our new Purity Vitamins tan, infused with skincare actives and Vitamins C and D. You don’t need to rinse it off and it smells like the holiday I wish I was on!
,
Tips on applying your tan
Here’s how to get a tan at home:
- Moisturise any dry areas before you tan – especially your elbows, hands, feet and knees – with our Tan Enhancing Body Moisturiser.
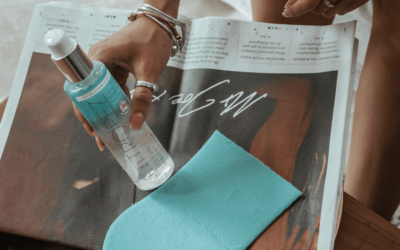
- Always use an applicator mitt to apply tan, this will help you blend the tan evenly and avoid having stained palms!
- Apply in upward circular motions, overlapping each area starting at your ankles (do your feet last).
- Use the excess tan on your mitt to tan your hands, feet and face. When tanning your hands, I always recommend forming a claw-like shape so that you can blend down each finger.
- If you think you’ve missed a bit, don’t panic – simply apply a little more on the missed areas.
,
Finishing touches
So you’ve mastered the application! Simply wipe your nails, wrists and palms to ensure a seamless and natural-looking colour. Now pop on some loose, dark loungewear and let your tan develop. How long you need to wait depends on the tan you have chosen, just check our product pages or on the back of the bottle to be sure. Once you’ve rinsed off your guide colour (if the tan you used had one), make sure to moisturise and exfoliate regularly to maintain your glow.
Now, enjoy feeling great! I always wear less makeup when I tan, it’s such a saviour – especially in lockdown!


